How To Remove Sap Off Car: A Comprehensive Guide For Car Owners
Have you ever parked your car under a tree only to find it covered in sticky sap? Don’t worry; you’re not alone. Removing sap from your car might seem like a daunting task, but with the right tools and techniques, it’s totally doable. In this guide, we’ll walk you through the steps to remove sap off car without damaging your vehicle’s paint or finish. So, let’s dive right in!
Picture this: you’ve just returned from a peaceful weekend road trip, only to notice that your car looks like it took a bath in tree goo. While sap may look harmless, leaving it on your car can cause serious damage over time. The acid in tree sap can eat away at your car’s clear coat and paint if not removed promptly.
Now, here’s the good news: you don’t need fancy equipment or expensive products to deal with this sticky situation. With some household items, a bit of elbow grease, and a little patience, you can have your car looking as good as new. Let’s get started!
Understanding the Enemy: What is Tree Sap?
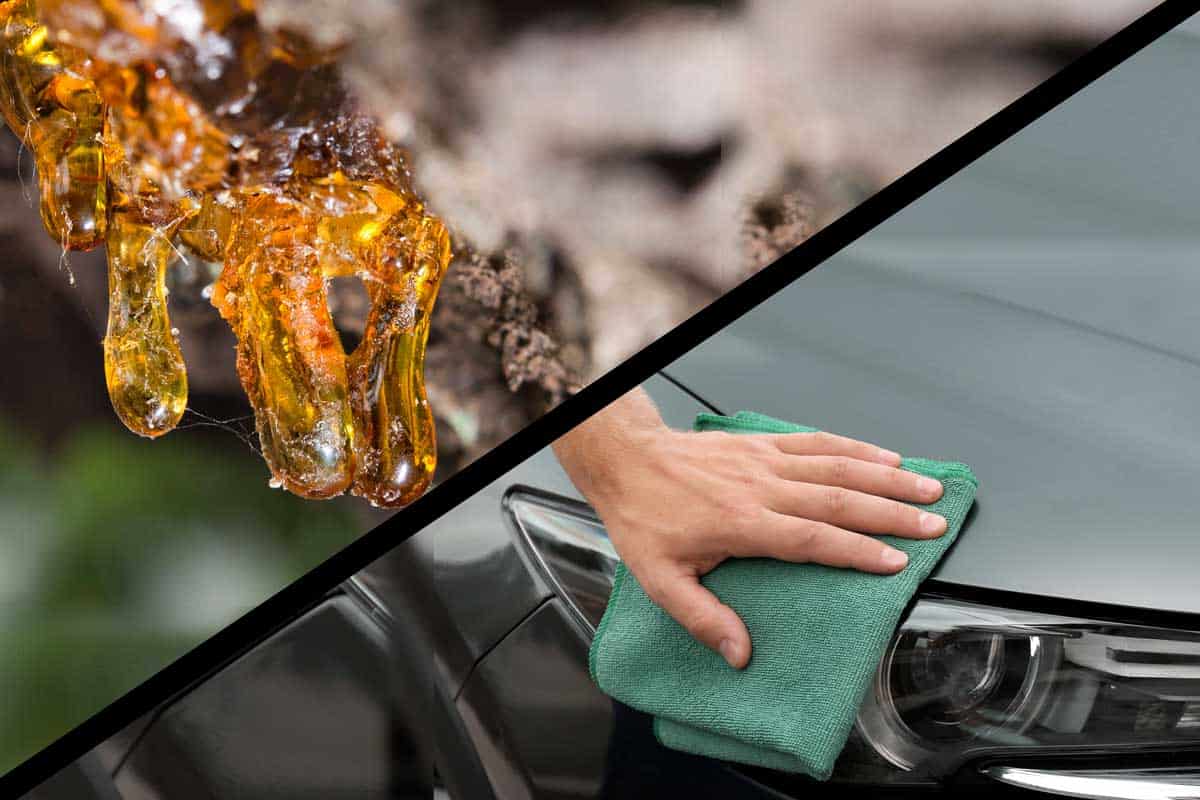
Before we dive into the how-to part, it’s essential to know what exactly tree sap is and why it’s such a nuisance for car owners. Tree sap is a sticky, sugary substance produced by trees to transport nutrients. While it plays a crucial role in a tree’s growth, it can wreak havoc on your car’s finish.
Tree sap contains natural acids that can slowly break down the protective layers of your car’s paint. Over time, this can lead to permanent damage, including discoloration and even etching. That’s why it’s important to act fast when you notice sap on your car.
Why You Should Remove Sap Off Car Immediately
Leaving sap on your car isn’t just unsightly; it can also lead to costly repairs down the line. Here are a few reasons why you should tackle this issue as soon as possible:
- Protects Your Paint: Sap can penetrate the clear coat and start eating away at the paint underneath. This can lead to expensive paint jobs if left untreated.
- Improves Aesthetics: A car covered in sap doesn’t exactly scream "well-maintained." Removing sap will keep your car looking clean and polished.
- Prevents Damage to Other Surfaces: Sap can also damage your car’s windshield, headlights, and other exterior components if not removed promptly.
Tools and Materials You’ll Need
Before you start scrubbing away at that sticky mess, gather the following tools and materials:
Basic Tools
- Microfiber cloths or soft towels
- Gloves (to protect your hands from chemicals)
- Plastic scraper (optional, but helpful for stubborn sap)
- Water hose or bucket of water
Cleaning Agents
- Car wax remover
- WD-40 or similar lubricant
- Isopropyl alcohol (70% or higher)
- Bug and tar remover (specifically designed for cars)
Step-by-Step Guide: How to Remove Sap Off Car
Now that you’ve got everything you need, let’s go over the steps to remove sap from your car safely and effectively.
Step 1: Assess the Damage
Before you start cleaning, take a moment to assess how much sap is on your car. Is it just a few spots, or is your entire car covered? This will help you determine how much effort you’ll need to put into the cleaning process.
Step 2: Rinse Your Car
Use a water hose or bucket of water to rinse off any loose debris from your car. This will prevent scratching the surface when you start wiping away the sap.
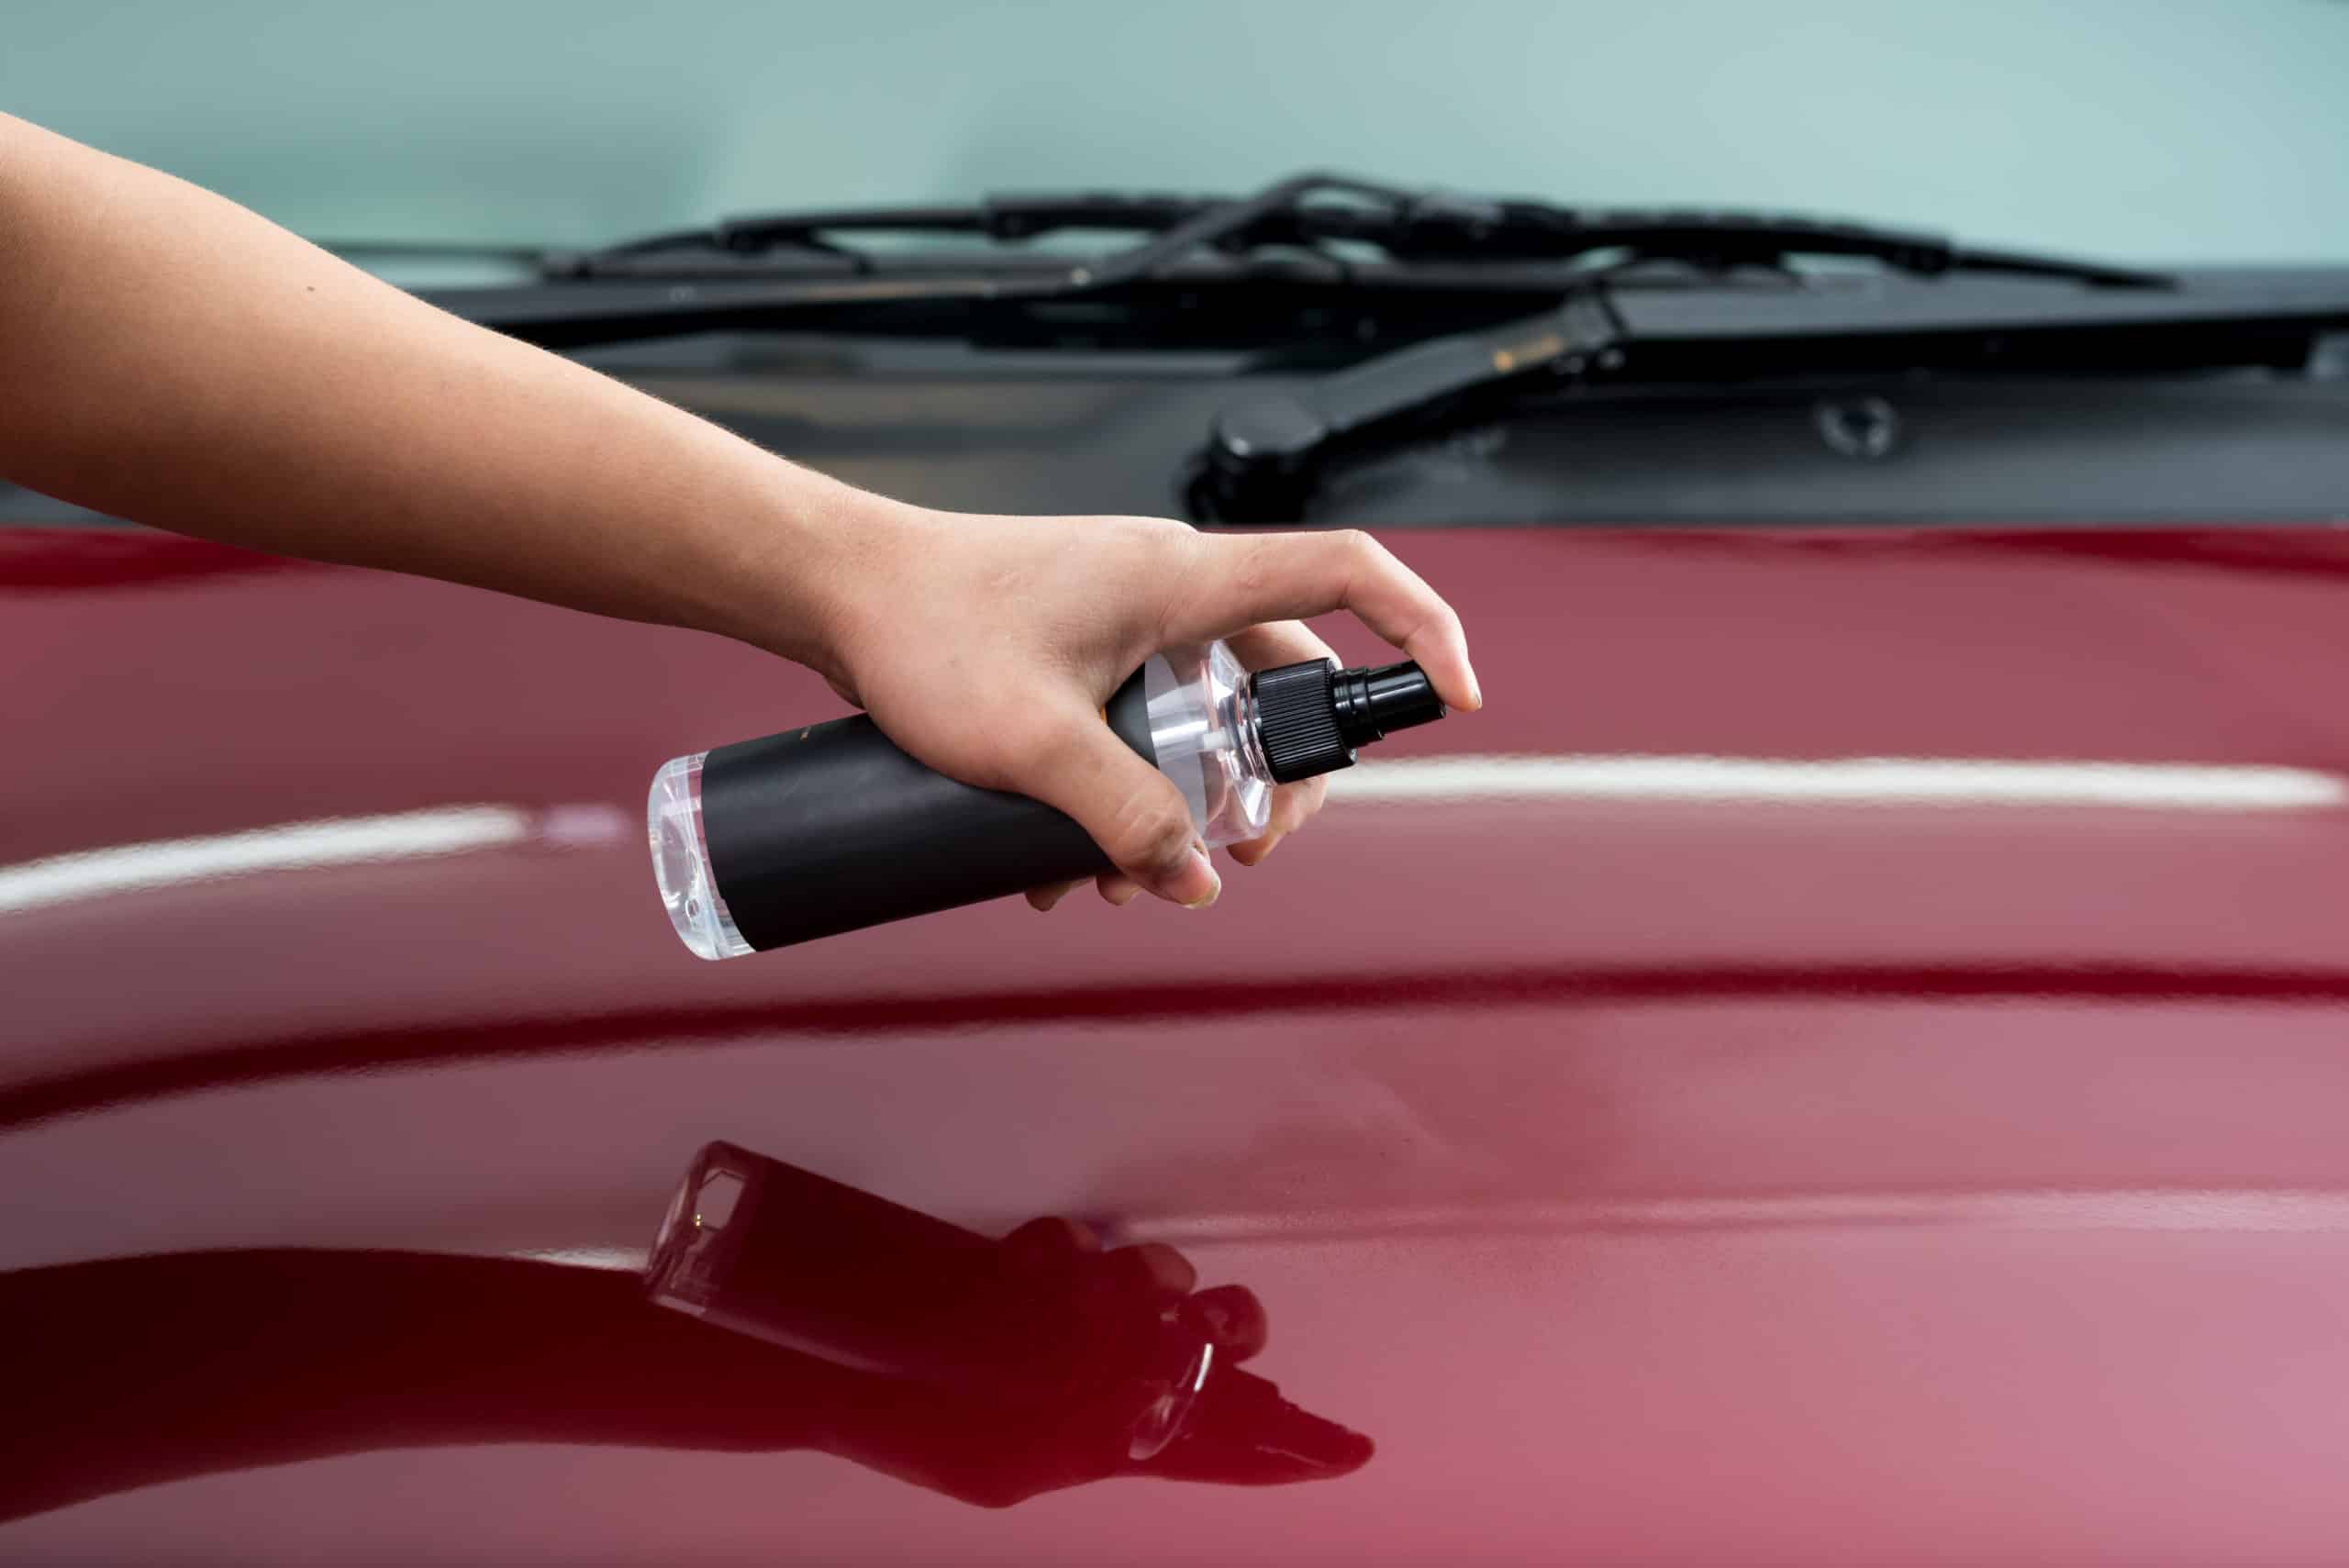
Step 3: Apply a Cleaning Agent
Choose one of the cleaning agents mentioned earlier and apply it to the affected areas. For smaller spots, you can use isopropyl alcohol or WD-40. For larger areas, a bug and tar remover or car wax remover will work best.
Let the cleaning agent sit on the sap for a few minutes to break it down. Avoid letting it sit too long, as this could damage your car’s finish.
Step 4: Gently Scrub the Sap
Using a microfiber cloth or soft towel, gently scrub the sap in a circular motion. Be careful not to press too hard, as this can scratch your car’s surface. If the sap is particularly stubborn, you can use a plastic scraper to lift it off without damaging the paint.
Step 5: Rinse and Repeat
After scrubbing, rinse the area with water to remove any residue from the cleaning agent. If there’s still sap left, repeat the process until all the sap is gone.
Step 6: Buff and Wax
Once the sap is removed, buff the area with a clean microfiber cloth to restore shine. To protect your car from future sap attacks, apply a fresh coat of car wax. This will create a barrier between your car’s paint and any future tree goo.
Tips and Tricks for Sap Removal
Here are a few additional tips to make the sap removal process easier:
- Work in a shaded area to avoid the cleaning agents drying too quickly.
- Test any cleaning product on a small, inconspicuous area first to ensure it doesn’t damage your car’s paint.
- Use a heat gun or hairdryer to soften stubborn sap before attempting to remove it.
Preventing Sap Build-Up on Your Car
While it’s impossible to completely avoid tree sap, there are a few steps you can take to minimize its impact:
Park Strategically
Avoid parking under trees that are known to produce a lot of sap, such as maple or birch trees. If you must park under a tree, consider using a car cover to protect your vehicle.
Regular Car Washes
Regularly washing your car will help remove any sap buildup before it has a chance to damage your paint. Aim for a thorough wash at least once a month, or more frequently if you live in an area with lots of trees.
Apply Protective Coatings
Consider applying a ceramic coating or other protective layer to your car’s paint. These coatings can provide an extra barrier against sap and other environmental hazards.
Common Mistakes to Avoid
While removing sap from your car might seem straightforward, there are a few common mistakes that can cause more harm than good:
- Using Abrasive Materials: Avoid using steel wool or other abrasive materials, as these can scratch your car’s paint.
- Letting Sap Sit Too Long: The longer sap sits on your car, the harder it is to remove. Act quickly to prevent permanent damage.
- Using Household Cleaners: Products like dish soap or laundry detergent can strip your car’s wax and damage the paint. Stick to car-specific cleaning products.
Conclusion
Removing sap off car doesn’t have to be a headache-inducing task. With the right tools, techniques, and a bit of patience, you can have your car looking as good as new in no time. Remember to act quickly, use gentle cleaning agents, and protect your car with regular maintenance.
Now that you know how to tackle this sticky situation, share this guide with your fellow car enthusiasts. And don’t forget to leave a comment below if you have any questions or additional tips. Happy cleaning!
Table of Contents
- Understanding the Enemy: What is Tree Sap?
- Why You Should Remove Sap Off Car Immediately
- Tools and Materials You’ll Need
- Step-by-Step Guide: How to Remove Sap Off Car
- Tips and Tricks for Sap Removal
- Preventing Sap Build-Up on Your Car
- Common Mistakes to Avoid
- Conclusion
El Sabrosito Restaurant: A Flavorful Journey Through Authentic Cuisine
Exploring The Best Food In Waxahachie: A Flavorful Journey Through The Heart Of Texas
Edgar Allan Poe Speakeasy Reviews: A Deep Dive Into The Hidden Gem Of Literary Nights
How To Remove Tree Sap From Your Car (Without Ruining The Paint)
How To Remove Tree Sap From Your Car (Without Ruining The Paint)
How To Remove Tree Sap From A Car The Complete Guide Autowise
